Showing posts with label Activity Days. Show all posts

Thursday, July 17, 2014

Activity Days: Water Spongy Toys

This past week we had a combined Activity Days with the older girls. It was the perfect kind of hot weather for our Water Games activity.

We had them make their own spongy water toy after they all arrived. We started with basic sponges. The sponges need to be the basic rectangle ones, in different colors. Lots of sponges nowadays come in various shapes and with scrubbies on one or both sides. Neither of those features work here. They have to be simple cheap sponges.


Lindsay cut all of the sponges into strips -- five strips per sponge. They don't need to be perfect, so you don't need to measure them out or anything. Just five strips approximately the same size.


At that point we had a bucket of sponge strips the girls could choose from. They each chose 10 strips of any color from the bucket.


And then we tied (very tightly) the bundle of strips right around the middle and cut the ends of the string off.


How cute are those?

The girls wrote their names on one of the little sponge strips so they could tell them all apart, and we proceeded with the water games! We played a game where the girls had to throw the spongies in target buckets for points (candies). There was also a fun relay, where they got nice and soaked. After the games, we had popsicles and the girls played in our splash pad. It was a fun, easy activity, and we filled the hour's time just right!

Thursday, May 15, 2014

Activity Days: Article of Faith Frame

One of the things that the girls in Activity Days are supposed to be working on, is the memorization of the Articles of Faith. We have the younger group of girls (8-9 year olds), so we take it somewhat slowly. We try to take some time at least once a month to work on memorization. When pretty much all of the girls have memorized one, we move on to the next.

We decided they needed to have a way to keep the Articles of Faith fresh in their minds. So, we came up with the idea to help them make a frame with a clothespin on it. The frame is simple. We bought frames at WalMart, and then covered the inside cardboard with burlap. Then, we put the frame all back together with the glass in place, fronting the burlap. They hot-glued the clothespin to the frame and then decorated their clothespin with washi tape in whatever way they wanted to. Every time we start on a new Article of Faith, we give them the corresponding card, and they can clothespin it to the frame, and put it out on their dresser where they see it all the time.


They can keep the whole set of cards in the clothespin, with whichever one they are working on, on the top of the set. They love getting the new card, and they've really been working hard on the memorization. We got the Article of Faith download from It's Always Autumn. To see their post and get the free downloads, click here.

It was an easy project for them to make, and it is a fun way to display their Article of Faith. And if their moms get really creative, they can paint the frame in a color to coordinate with their rooms!

Saturday, February 8, 2014

Activity Days: Valentine's Treat Jars

We had a fun Activity Days activity the other day. We took around some Valentine's treats to some people in the neighborhood, and also to the girls who missed Activity Days that week. I made the Valentine's Muddy Buddies (from The Recipe Critic) beforehand so that the girls would have a chance to make the cards and then deliver the treats in the neighborhood.


I just used some wide-mouth jars that I happened to have on hand, and we used coffee filters for the covering under the rings. I have loads and loads of coffee filters for crafts, and we don't drink coffee around these parts, so I love when I get a chance to use them. They fit perfectly on the jars, and looked pretty darn cute. Then we just tied some pink and red baker's twine around the ring lids and voila! A darling little treat! Lindsay (my daughter, and Activity Days partner... woo hoo!) made the darling little cards to attach to the jars. Each of the girls wrote their names on the back. We had the girls all go up to the doorsteps together, and they were darling! I'm sure the recipients couldn't help but smile at their sweet, eager faces. And the girls felt SOOOOO good afterwards. It was fun to hear them talk about how much they liked surprising the people with their little treats.

Easy to make, and we really could fill the jars with any kind of treat for any time of the year and do the same thing.


Friday, December 20, 2013

DIY Musical Chimes for Christmas


We had such a fun Activity Days yesterday. We made a Christmas Family Home Evening lesson that the girls were each able to take home to give to their families. We also spent some time playing the musical chimes. We've had these chimes for a few years now. My sister Sheri was the first one to introduce them to our big family Christmas gatherings. We've been playing those same chimes for years and years at Christmas time.

Several years ago I decided it was high-time my own family had our own set of chimes. I got the information from Sheri as to the exact measurements of each chime, and we went to work.

We bought two 10-foot lengths of 1/16 galvanized conduit pipe that is 1/2" in diameter. We cut each pipe to the exact size, using the chart below. It is very important to cut the pipes exactly to the size specified, or you'll end up with some sharp and flat notes where you don't want them. (I may or may not have a pipe or two that needs filing down a little... but we still love to play them!).

After the pipes are cut down to size, we drilled a hole 1-1/2" from the top of the pipe, using a drill press. We then strung some nylon cord through the holes. We have to replace the cord every other year or so. The edges of the chimes are a little rough on the cords. This year, to make it festive, I strung tinsel pipe cleaner. We'll see how long that lasts.


At the top of each pipe, we wrote the chime number with a permanent marking pen (see the chart below), so that we know which pipe is which for various songs.


We also got the biggest nails we could find at Home Depot for the chime ringers. You can use spoons, or little wooden dowels with balls on the end, or whatever you think works best.

My sister sewed a great little storage pouch for the chimes, with individual spots for each chime to slide into. I may just do that some day, but in the meantime, I found a #10 can (coffee can size), covered it in copies of old sheet music, and that's what I keep my chimes in. I also have a smaller soup can that I keep my large nails in.

So, the sizes go as follows in the chart below. Remember, it's important to cut them very accurately.

Key Size Number
A 13-5/8" 0
B flat 13-1/4" 1
B   12-6/8" 2
C 12-3/8" 3
C sharp 12" 4
D 11-6/8" 5
E flat 11-3/8" 6
E    11" 7
F 10-5/8" 8
F sharp 10-3/8" 9
G 10" 10
A flat 9-6/8" 11
A   9-1/2" 12
B flat 9-3/16" 13
B    9" 14
C 8-5/8" 15
C sharp 8-1/2" 16
D 8-3/8" 17
E flat 8-1/16" 18
7-6/8" 19
F 7-3/8" 20
F sharp 7-1/16" 21

We have lots of pages of chime music written out with the chime numbers instead of the notes. That way, those who are playing each chime knows when it's their turn to chime in. I've also made some large posters so that when we have big gatherings, we can have several more people standing all together and they can look down to the chart to see the song as it is played.


All ages can participate pretty easily. When we use the big poster board, I usually go along with a pointer and point to each note as we go so that everyone knows where we are, and knows when their chime needs to be played.

It doesn't necessarily have to be Christmas music that you use these for. You could use them for any music at all. It is easy to transfer the notes to the pipe numbers using the chart above. It might be fun to use them at a family reunion, or any kind of gathering. It's a fun way to introduce music to the event without someone having to perform all on their own. I'm a big fan of that, since I don't really do solos in any way, shape or form.

These make GREAT gifts! We made them one year for various family members and friends, and they all loved them. And it's something they really can use year after year after year and make fun traditions with.

The Christmas songs that I have are:

Away in a Manger
Silent Night
I Heard the Bells on Christmas Day
It Came Upon the Midnight Clear
The First Noel
Oh, Little Town of Bethlehem
What Child Is This?
Deck the Halls
Jolly Old St. Nicholas
White Christmas
I'll Be Home for Christmas
Jingle Bells
Rudolf the Red-Nosed Reindeer
O Christmas Tree
Chestnuts Roasting on An Open Fire
We Wish You a Merry Christmas
Joy to the World
Oh Come, All Ye Faithful

I am happy to send you copies of the music that I have. Just post a comment below, specifying three (3) song choices, and I'll email them off to you.

Thursday, November 21, 2013

Activity Days: Gratitude and Thanksgiving

I was in charge of Activity Days a couple of weeks ago, and wanted to tie it in with Thanksgiving and Gratitude. For Activity Days (twice a month activities for girls ages 8-11), I feel like I need to be creative in incorporating one of the requirements, and in letting the girls make or do something. (Hence the term "Activity Days"). I have the younger ages, so they are the 8 and 9 year olds. They love to make things, and are excited about ANYTHING we plan. They are darling!

In my age group, we have three leaders, so we each take turns being in charge. It makes it a breeze, since it means we theoretically only have to be over an activity every six weeks. After serving in Young Women, where we have weekly activities, that is ever so easy. When it is our turn to be in charge, we have a scheduled topic from the book, and then we can choose any of the requirements and base an activity around that. My topic for my activity was "Serving Others".

Soooooo, I went to that section in the book, and scanned the various requirements. 


I decided this one worked great for this time of the year: "Write a letter to a teacher, your parents, or your grandparents telling them what you appreciate and respect about them".

So, we first talked about gratitude and what it means to be thankful.  I shared a couple of stories with them, and discussed them a bit, and then we moved on to making some cards.

We started with this mat stack that I've had in my paper stash. Perfect size.


They each picked a couple of sheets from the stack so that they could make two cards. They folded the papers in half, and then glued this darling "Thankful and Blessed" graphic (go to nestofposies.com for the free printable) to the front. Then, they each wrote two different Gratitude Notes to two different people they were grateful for.


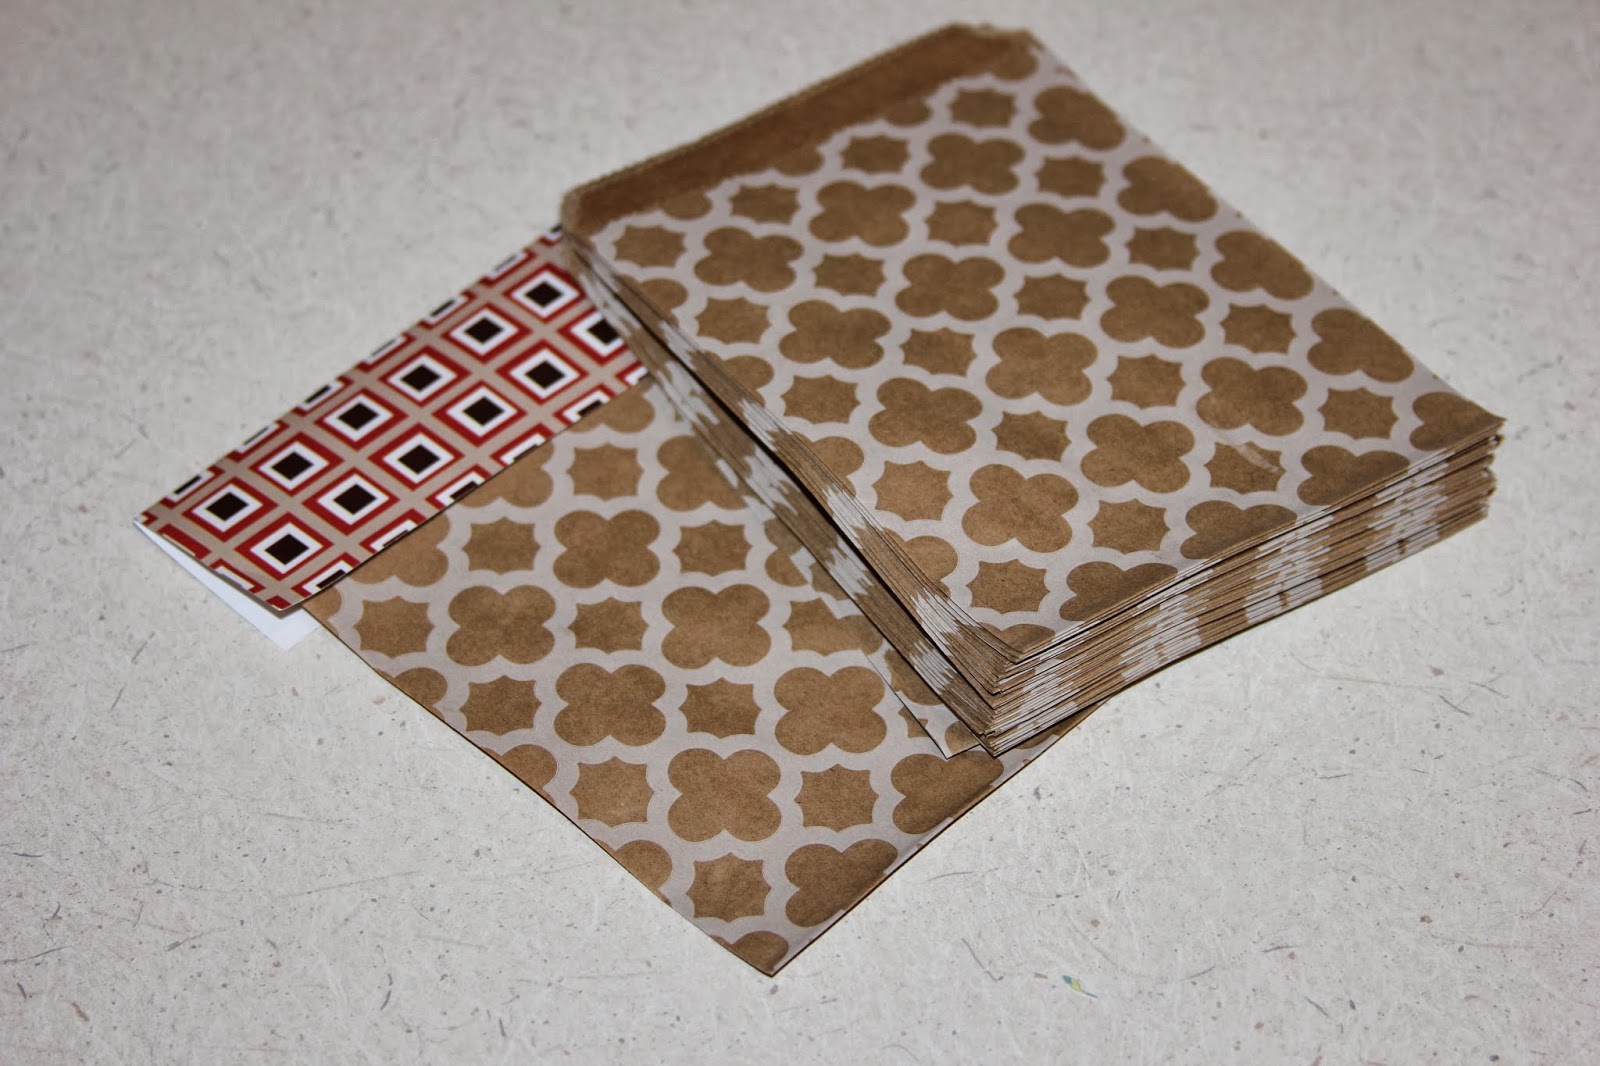
Then, of course we had to make a little treat to go with the note. I gathered a few supplies that I had on hand: baker's twine, treat bags, and extrenous treats from Halloween (okay... leftover candies, but it's not like they were the icky ones, or that they were a year old... heck, I would have loved to get that little sack of treats!)


They again chose some pages from the mat stack, and folded it in half the other way to make the bag topper. We stuffed the bags with candy bars and then stapled the topper to the top of the folded bag.


They punched a hole in the top of the bag topper and also the card, and attached the card to the bag, leaving a nice long loop at the top...


... so that they could put the treat on someone's door and leave it for them to find. What a fun surprise! I don't know if the girls believed me when I told them, that even though the treat was fun, the best part of that little package were the cards that they so painstakingly wrote expressing their gratitude. What treasures!

Wednesday, October 30, 2013

Activity Days: Halloween Father-Daughter Minute To Win It Activity

We had such a fun father-daughter activity for Activity Days this past week. We did a Halloween Minute to Win It activity, and the girls and their dads really seemed to have a great time together. The dads were really great sports!

We played a game where the girls had to wrap their dads in a roll of toilet paper, like a mummy. The first one to finish her roll of tissue paper won that game.


My sweetie-pie is below, on the left, being wrapped up by a little girl whose father was out of town on a business trip. She "borrowed" him as a dad for the night!


There was also a game where they had to pick up spider rings with a straw held in their mouth. Easier said than done!


And a funny race where they had to hold a quarter between their knees. Oh, the girls loved seeing their dads looking a bit awkward and silly!


We also used the beanbag toss that we made last year. That was a pretty fierce competition. I'm not sure the beanbags were made to withstand that kind of throwing.


And of course, it wouldn't be a party without yummy treats. This photo was taken before half of the food was on the table, but you get the idea...


Rice Krispie treat pumpkins. I vary the recipe a bit from the standard recipe when I make Rice Krispie treats. Melt 6 T. butter in a large pot. When the butter is melted, add 16 oz. of mini marshmallows. Stir over medium heat til the mallows are melted. Then, if I'm adding food I add it now. Lots of orange, to make it nice and pumpkin-ish. Add in 8 cups of Rice Krispies and stir til they're all coatedd. Have a dab of butter on a little plate so it's handy to dip your fingers into, because you will need lots of butter on your hands -- the mixture is really sticky. Form pumpkin shapes, then make a little divot in the top, and place a tootsie roll in it. Couldn't be easier.


Monster Cookies. Really easy and yummy. The eyeballs are candy eyes from JoAnn. I use the recipe from lilluna.com for Gooey Monster Cookies. The only change I would make from their recipe, is I roll them in granulated sugar instead of powdered sugar. The powdered sugar gives them a white-ish covering on parts of the cookie, and takes away from the look I want. Suit yourself, though. Both are equally delish!


And this kindof cracks me up. I went to great lengths to create these witches brooms...


Notice anything? I practically had to drill a pilot hole in each one to keep from cracking the chocolate to bits. I finally got a tray of them done and ready for eating.


And then, just now, when I was looking at the photos, I realized they should be upside down. The chocolates would look much more like brooms if they were bottom side up, AND the pretzels would have gone through the bottom of the chocolates much easier than the top thicker chocolate layer. Why didn't I notice that as I was putting them together, and why didn't my kids or husband notice? They may have, but were too nice to say anything after they saw that I had already finished the tray. Oh well. They were all engulfed fast enough that I don't think anyone was noticing they were upside down.

It was a fun, simple activity, and all of the leaders did a game and a treat, so it wasn't really a burden on any single person. We decided to do it in my home so that we wouldn't have to do any extra decorating. Saved money and time by not having to try to decorate the cultural hall at the church!

Thursday, September 12, 2013

Activity Days: Individual Worth & Talents

For Activity Days last week, we started with having each of the girls paint a wood cut-out letter of their first initial. We encouraged them to paint it however they wanted to, expressing the idea that since we're all different, we probably won't have any of the finished letters exactly the same. I loved what they came up with!


While the paint was drying on their letters, I had them come up (one at a time) and write as many things "about themselves" that they could on the dry-erase board.


After they were finished, we talked about the fact that we are all children of God, and inherent with that is the fact that we all have many gifts and abilities and interesting things about ourselves. And that we are all different. We couldn't have left the first list up and just erased the name so that each of the girls had the same list. Each and every one of them is different, and has beautiful things about themselves.


I loved the lists! After each one wrote their list, we took a picture of them next to their list, and then emailed it to their parents so that they each girl will have a copy of their own to remind them of their individual worth and their many-faceted talents and abilities. For their achievements, I used it as a "write-in" under Developing Talents.

It was a simple, fun day!

Friday, May 24, 2013

Activity Days Chalkboard Letters

We had a fun Activity Days Mom and Me activity a couple of weeks ago. We had some fun activities, including having the moms and daughters come dressed alike. It was so great to see the lengths they went to to be just alike, including making sure their hair was the same, and they had the same hair clips. It was the best!

We also had the moms and girls work on a super easy craft together. I started out thinking we would have Bob cut out their last name initial in wood, and then the moms and girls would paint their letter in chalkboard paint, let it dry, and then decorate it in chalk.

When we found that Home Depot has wood with the chalkboard paint already painted on, we knew that was a better route. Then we wouldn't have the mess of paint on their cute clothes, and everywhere else within reach.

So, Bob cut out a letter for each of the sets of moms and daughters. If you don't happen to have a magic laser machine, then you could also cut letters out with a scroll saw. I've done many a project on a scroll saw in my time...


They first cleaned off the letter with rubbing alcohol, as the laser machine sometimes can leave a burn mark that easily washes off. Then, they rubbed chalk (using the long side of the piece of chalk) all over their letter, and then erased it, giving it more of a chalkboard look. This also helps so that any chalk writing and drawing can easily be erased instead of leaving a mark. One suggestion is to use a good, high quality chalk. I like this Prang brand. It doesn't scratch the chalkboard surface, like some of the cheaper brands can.

After they "tempered" the chalkboard letters, they went to town decorating them together -- drawing and erasing and drawing and erasing until they had the perfect designs.


They can display them in their home and change the chalk design whenever they want to. It would be cute to draw hearts for Valentines, shamrocks for St. Patrick's, holly for Christmas, etc. They turned out darling, and the girls seemed to be pretty excited about them.

Of course I had to have one for my own house....


Thursday, April 4, 2013

Activity Days: Friendship Necklaces

We made a fun friendship necklace for Activity Days last time we met. We were working on the category "Serving Others", and the third item under that category. It says, "Make a list of the qualities you like in a person. choose one quality to develop in yourself. discuss how showing respect and kindness strengthens you, your family, and others."

We discussed qualities that they liked in other people (friends and family), and had them write them down on a piece of paper. Then, we talked about how it would be wonderful to have those same qualities in ourselves so that we might be that kind of friend or family member that others are drawn to. We had them circle one of the things on their paper that they could work on the coming week.

We also talked about how important it is to be a good friend to everyone, and specifically geared it to our own Activity Days group. Some of the girls go to different schools, and they're in different grades, so they may not be each other's "best friend". We talked about how you can be good friends with other people besides your "best friend".

Then, we handed out these  bags with little wooden charms that had their names written on them. They each took the bag with their charms in them, and decorated the little wooden charms using markers.


They turned out darling, and I wish I had taken a photo of their decorated charms. They were quite artistic and had some cute original ideas with flowers, dots, stripes, etc. So cute!

After they were done, they handed each of the other girls one of their charms so that each of the girls ended up with a charm from every girl in the group. We strung them on a ball chain necklace.


The charms in the above photo are obviously not decorated yet, but you get the idea...


Afterwards, we gave them each a bag of chocolate hearts to symbolize the love that they should ideally have for each other. It was a fun, easy activity, and the girls LOVED their necklaces!

Friday, February 22, 2013

Activity Days: Prophet's counsel on a wooden block

I was in charge of our Activity Days yesterday, so I decided to help the girls work in their books, on Learning and Living the Gospel, and the fourth bullet point on that list: "Read a recent conference address given by the prophet. Decide what you can do to follow the prophet, and do it."

I started by printing off a copy of President Monson's closing remarks from last General Conference (October 2012) for each of the girls. I needed it to be a shorter talk so that we could get through the whole thing by taking turns reading out loud. As we read the talk, we stopped and talked about various parts of the talk, and each of the girls underlined some of the things on their own copy of the talk, that they might want to remember. We were specifically looking for things the prophet counseled us to try to work on.

We talked about each of the things he mentioned and made sure that each of the girls understood them, so that they were able to know exactly what it was that President Monson spoke to each of us about.

After we discussed the talk thoroughly, I gave them each a block that Bob engraved for us (on his magic laser machine). The blocks were left over from another project, and I already had the eye screws and ribbon, so I didn't have to buy anything at all. Love it when that happens!

The top of the block looked like this:


And then on each of the sides, he engraved one of the things that President Monson mentioned in his talk that we should try to work on.


On the bottom of the blocks, he engraved the girls' names.

I let the girls pick through my scraps of ribbon to tie whatever colors they wanted to the eye screw so that it was something cute that they could put on their dresser or by their bed as a reminder of things to work on being better at. They are going to try to work on one side of the block for one week, then turn it so that another side shows, and work on that one for a week, and so on.


Easy, non-messy little craft item that hopefully serves as a nice reminder of what we each need to do to follow the prophet's counsel.

Now, if you don't have a magic laser machine handy, another way to do it would be to print off each of the words on heavy scrapbook paper, cut them into squares the size of the block, and mod podge each to the various sides. It would be really cute that way, too!