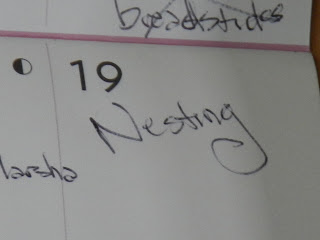
Just in case you're wondering if our new grand baby has been born yet, this is what my calendar looks like for today.
I am a little paranoid about getting sick from all of the flu bugs and colds going around, so I don't want to go out too much and be around people. It would be the worst if I was sick and couldn't be around Junior (still don't know what the baby's name will be!).
To pass the time until we have our new grand baby, I have a list of projects as long as my arm, so I don't have to look around much to find something to do. I decided this morning was the perfect time to finish one of the projects.
A while ago, I picked this gem up at D.I. (a local thrift store). It was $15.00, so I figured I couldn't lose. I bought it, brought it home, and it served as a stowing place in our garage, right by the garage entrance into the house. Not really what I had intended to use it for, so we decided it was time to give it a second life. Bob took all of the doors off, and this is what it looked like. It was kind of a conglomeration of shelves and doors and inserts. It looked like it had been added to throughout the years.
I spray painted the hardware silver. I love how it all turned out. It originally had been a brownish, old aged metal, and just needed to be brightened up a bit. You'll notice in the photo there are toothpicks sticking out the sides of the handle. That is a trick I learned a while ago. It worked beautifully! Before I spray-painted the handle, I jammed those toothpicks in the sides, and it forced the handle to stay up while painting and drying. That way, you don't have the handle flopping over as you're trying to paint.
I painted the cabinet a soft robin's egg blue. I love the color!
The bottom two doors had openings where they had previously been covered in an old sagging paper. We removed the paper, and Bob cut two new board inserts (with his magic laser machine). I scored a great fabric remnant at Joann's. It would have been $10.00 regularly, then was marked down to $4.00 as a remnant, and then the remnants were 70% off yesterday. So, that brings the whole piece of fabric to just over $1.00. Not bad.
I cut the fabric so that it was about an inch larger than the board.
I hot-glued the fabric down to the board, gluing one side first, and then the opposite side, so that I could stretch it nicely across the board.
I am going to get another type of fabric to cover the back side of the board so that if I want to, I can switch the boards around and have a different look. I'll show you that later on after I get the fabric and put it in place.
And this is what the piece of furniture looks like all painted up, hardware finished, and new fabric-covered inserts in place. Pretty cute, actually... and it cost me about $17.00 total! I am going to put it upstairs in one of the bedrooms. It should go perfectly up there! When I have that room done, maybe I'll share a photo of what it looks like in its new home.


.jpg)
.jpg)


So fun!
ReplyDelete