Necessity is the mother of invention. Truer words were never spoken. When our first grand baby was born a year and a half ago, I decided I would make each of my grand babies a quilt sometime in their first year of life. I went to the quilt shop, found a pattern I liked for our grandson, bought the fabric, and then it sat in a nice stack in my quilting room. And since my craft room was in complete upheaval at the time, it sort of got shifted around along with several other stacks of things to do. Then came grand baby #2... a granddaughter this time. And I bought a pattern and fabric for her, too. Fast forward a year or so, to when I cleaned my craft room out and totally reorganized it. And suddenly my projects were all staring at me from my "project shelves". I knew I needed to get to these baby quilts. Then grand babies #3 & #4 were announced. Alrighty then. Plan B. Can I tell you how much I love Plan B? I had seen the online hullabaloo about the "Jelly Roll Jam" quilts, and I knew this was what I wanted to do for ALL of my grand baby quilts. I thought it would be so cute to have the same basic quilt pattern, but different fabrics for each grand baby. And it didn't hurt that the quilts were a snap to put together. Some ladies put them together in 45 minutes. I'm not that fast yet, but it definitely takes under 2 hours, which is amazing!
To begin with, for my quilting projects, I always use a 1/4" quilting foot on my sewing machine. That way I can sew with my quilting foot along the edge of my fabric and know that I'm always sewing a 1/4" seam.
For this quilt project, you will need the following:
-40 strip jelly roll (see photo below), or enough different types of coordinating fabrics to cut 40 2-1/2" (by the width of the fabric: about 44") strips from.
-3/4 yard of fabric for inner border, cut into 6 2-1/2" strips by the width of the fabric (44")
-1 yard of fabric for outer border, cut into 7 3-1/2" strips by the width of the fabric (44")
-4 yards of fabric for the quilt back
-quilt batting (for the size of the finished quilt top)
-1 yard of fabric for the binding, cut into 7 2-1/2" strips by the width of the fabric (44"). Before buying this, read through this whole post. I generally have enough leftover fabric from my backing fabric for the binding strips.
Remember, I didn't have jelly rolls for the first two quilts. I had already bought the fabric for them, and still wanted to use that fabric. So, I made my own jelly rolls. Now, you may be wondering what a jelly roll is. It looks like the photo below, and is usually made up of 40 2-1/2" x 44" strips.
Very handy that it is already cut into the size I will be working with in my baby quilts to come. But for now, I had to cut my own, which wasn't really that big of a deal. I just laid my fabric out, and cut it into strips that were 2-1/2" wide by the total width of the fabric (44").
After I had 40 strips cut, this is what my piles looked like.
Next, I thought I would space them all out so that the fabrics were spread out. It turns out this doesn't make any difference, and may also end up having just the opposite effect of what I was hoping. In a jelly roll, the fabrics all come layered with the same colored of fabrics all together. When you open up a jelly roll to use for this quilt, keep the layers exactly as they came. Don't try to manipulate them like I did. It works much better to keep them as they are. I promise.
Below is a jelly roll that I opened and left in the order it came in. Leave it in the order it came in.
And now, it's time to get started sewing. Before you even begin, load up 5 bobbins so that you won't have to stop and wind bobbins mid-way through your project. You'll be happy you did. Now take the first strip and cut 18" off of it. This way, your seems will end up being more varied throughout the quilt. Sew the first strip to the second strip (on the 2-1/2" ends), right sides together. Easy peasy.
Now, to save time and thread, don't break your thread when you come to the end of that first seam. Bring up the tail of the second strip up and lay it on your sewing machine, right side up. Lay the third strip on top of that, and sew together.
Continue on til all of your strips are sewn together.
Cut the threads between the strips. You will have one long strip in a big pile (about 1700" worth of a long strip!). Find the two ends.
When you are getting towards the end of sewing that long seam, you will probably have something that looks like the photo below. No worries.
Just make a cut in the end of the strip, and the ends will fall together nicely for you to be able to finish sewing your strip.
Now, you'll have a double wide strip that is half as long as the first one you made. Take the two ends of the double-wide strip and begin sewing them together (right sides together) along the long edge. As you sew over your seams, lay the seams towards the darker piece of fabric.
When you come to the end, you may have it work out perfectly, or you may have it twisted. It doesn't matter. You will clip the end either way before you sew all the way to the end.
Now continue on with your quadruple-wide strip. And follow the same instructions.
Continue until you've got your quilt at approximately 54" X 64". At that point, I added a couple of borders to frame it off. My inner border used strips that were 2-1/2" wide, and my outer border strips were 3-1/2" wide. I measured the length and width of the finished strip quilt, and then multiplied that number by two, and added 15". I cut the 2-1/2" strips that I would need, and then sewed them all together in one long border strip. I then sewed the border strip onto one side of the quilt, and trimmed it at the end of the quilt. Then I sewed the border to the other side doing the same thing. After the sides were complete, I sewed the strip along the entire top and bottom using the same method. To do the outer border, I followed the exact same steps as the inner border, but used the 3-1/2" wide strips.
After the quilt top was finished, I ironed the back laying the seams down in preparation for quilting. (And yes... the fabric is different in this photo below. This is the quilt for my granddaughter)
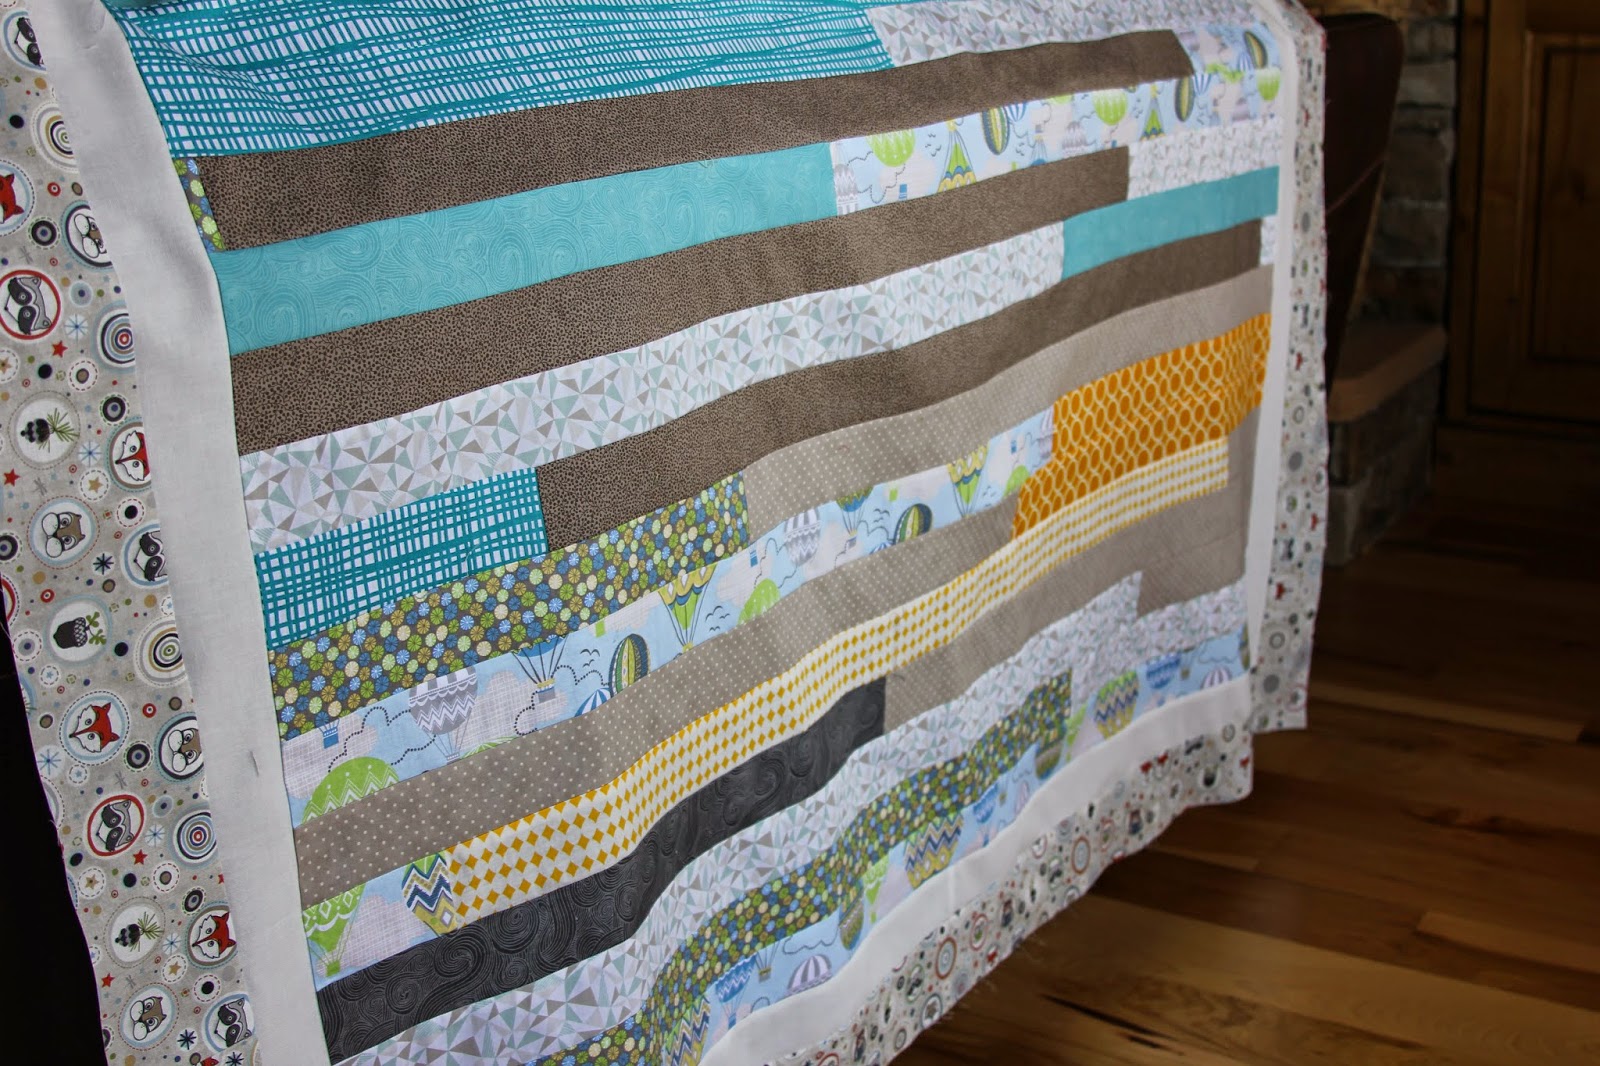
These next two photos are the finished flimsies. This is before I took them to the quilter to have them quilted.
The strips will all be layered randomly in your finished quilt. You'll end up with some of the same together, and most not. The above quilt is the one I tried to manipulate by putting the strips in a certain order so that the colors would be all spread out. The bottom one is one I sewed together in the piles of strips as they were, without spreading the colors around evenly. They are a bit different from each other, but they both ended up being fine.
At this point, measure your finished quilt top. Then, find a backing that coordinates with the colors of your quilt top. You'll need about 4 yards of the fabric for the back. You can cut your four yards into two yard pieces, and then sew them together along the selvage. (Don't forget to iron down the seam on that backing piece) And now you will have a backing that is a bit oversized for your quilt top. I take it that way to the quilt shop to be machine quilted, and after they've quilted it, I cut the excess backing fabric off, and I have enough of that to cut the binding strips. The reason I like the machine quilt shop for these, is I want these to be machine washable for many years to come, and I also wanted them done quickly, sooooo the machine quilter was the ticket. And when I take it there, they use their own batting, so that eliminates me having to go and purchase batting. Yay!
Next week, I'll post about the finishing the quilt... trimming, the quilt label and also information for the binding. (Click here for more information on the binding and quilt labels)


Wow! You are so smart. I love it. Your two Grandmas would be so impressed as am I. Love and appreciate you Mom
ReplyDelete