


For the instructions on how to make my scrappy patchwork stockings, click here. My grandkids' version is basically the same stocking, but skipping the patchwork part.
To make these Christmas stockings, I followed a pattern from Moda Bakeshop. The pattern is "His and Her Scrappy Christmas Stockings" by Nicole Willmore. Click here to see the original free pattern.
So, to do the grand kids stockings, the directions are as follows:
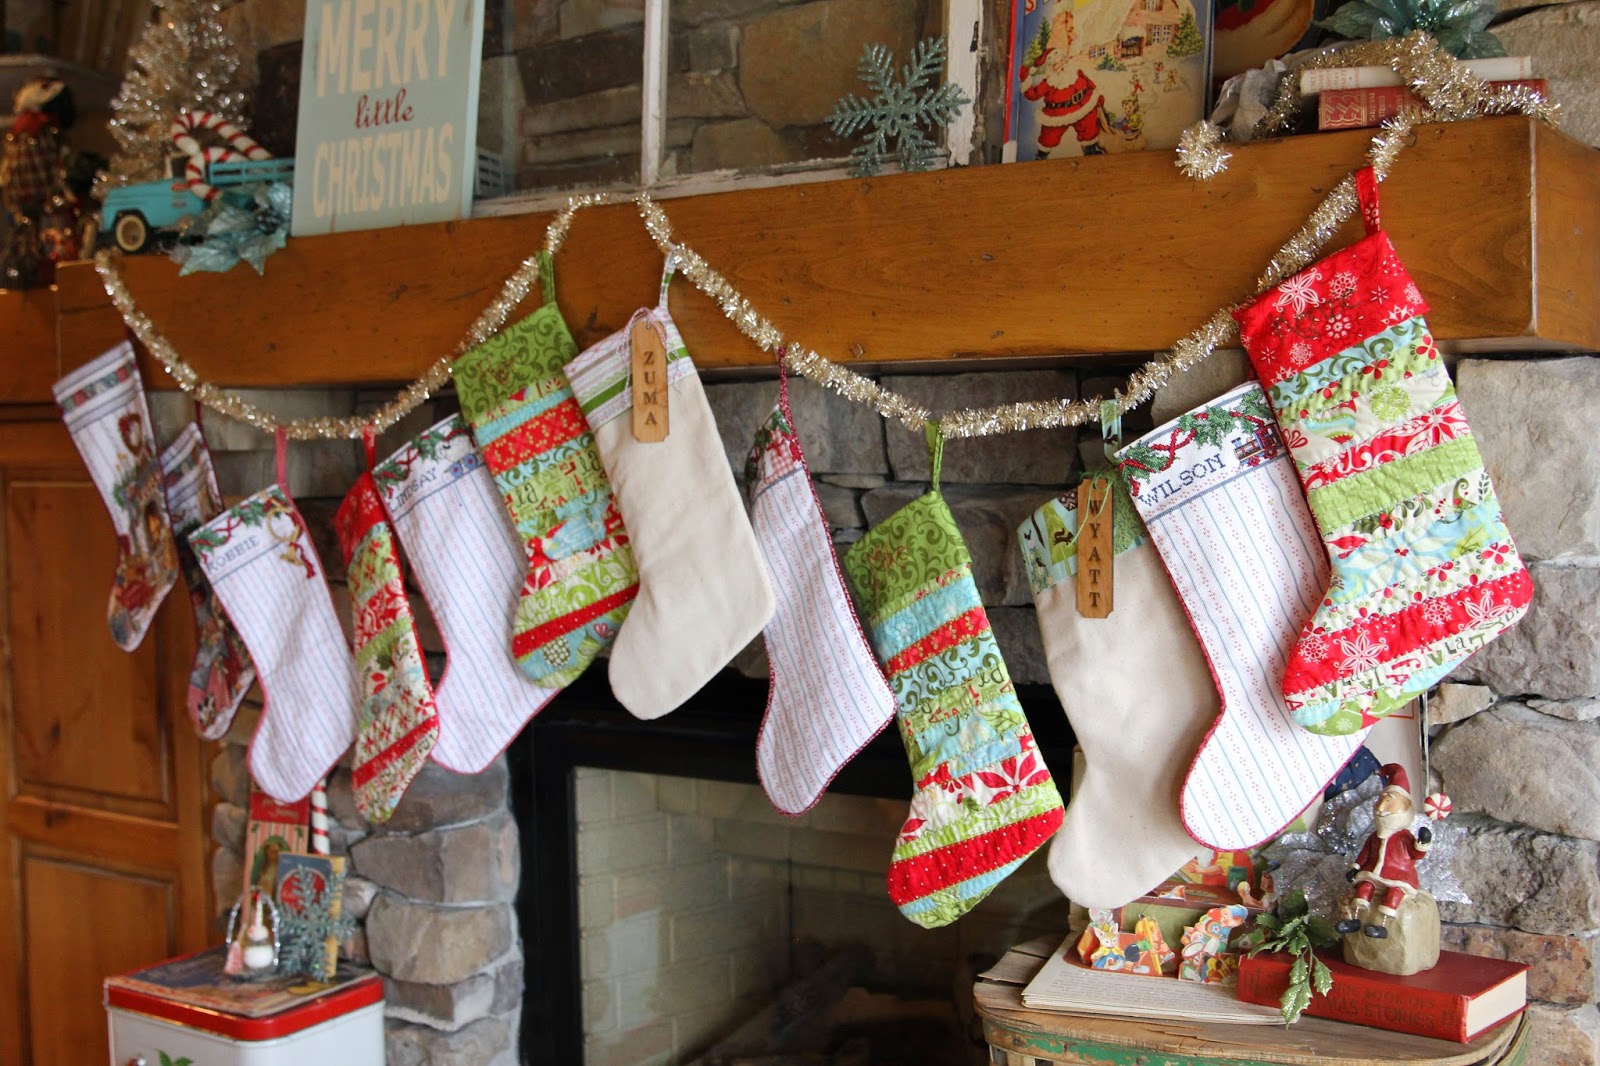
I wanted the stockings to be the exact same shape as the others that I already have, so I used my others as a template to draw up my own pattern. Years ago, I made six stockings for my family. As my kids have married, I knew that I wasn't going to go back and cross-stitch stockings for their spouses, so I wanted to come up with something else, and these scrappy stockings fit the bill. I like the idea of having the stockings being a little mix-and-match, so the fact that they are different designs from the originals doesn't bother me a bit. In fact I sort of like it... it seems to represent the phases our family has gone through (first our little family of six, then the four marriages of our kids, and finally, the additions of grand babies to the family).
You may notice the sad shape that my cutting board is in. It has some battle scars from previous projects (which may or may not have involved kids with markers). I have a newer one, but I love this little one that fits in the corner of my counter so well. So, ignore the scars and the marks.
The Moda pattern is great to follow along with. I'll just add a few of my own photos here and some of the changes or adjustments I made. The original pattern makes two stockings. My stockings each measure about 16" long and 9-1/2" wide at the foot of the stocking.
On the Moda ingredient list, you'll notice that it uses a jelly roll. You won't need a jelly roll for my more basic version of the stocking. You will need about 1/2 yard (depending on the size and shape of your stockings) of whatever fabric you'd like the stocking to be made out of. I want all of my grand kids stockings to match, as far as the stocking part. And then, they'll each have a different fabric for the cuff. I chose a nice mid-weight cotton muslin for my stockings.
You will also need a piece of warm and natural that you will cut to just one piece that is exactly the size and shape of your stockings.
Cut four stockings out of the muslin, and one stocking out of the warm and natural batting.

-7 x 13-1/2 (cuff)
-2-1/2 x 6 (hanging loop)
The larger of the two, the cuff piece, may change depending on the size of your stocking. I changed mine from the original pattern.
Stack three of the stocking shapes as follows:
1-warm and natural piece
2-stocking front (one of the four stocking shapes already cut out), with the right side away from the warm and natural
3-stocking back (right side facing the right side of the stocking front)
Pin these three together and sew them together, right sides facing each other.

Sew the other two stocking pieces together (they'll end up being the lining). Be sure to leave about a 2" opening on the long, straight edge of the stocking for turning later. Trim and clip the curves so that the stocking will turn easily, being really careful not to clip the seams.


 |
| this cuff is for a different stocking, but you get the idea... |
I placed the raw edge along the raw edge of the stocking at the top.


I sewed carefully along the top, and then pulled the quilted stocking through the opening of the lining stocking.
Sew along the lining opening to close the hole.
Push the lining stocking down into the quilted stocking, and iron flat.


No comments:
Post a Comment